Stage 2:
We installed and tested the plumbing/feed line and launch abort valve today. We are using the simple Gardena/Hozelock quick connectors for this and Hozelock Ultra Durable Hose.
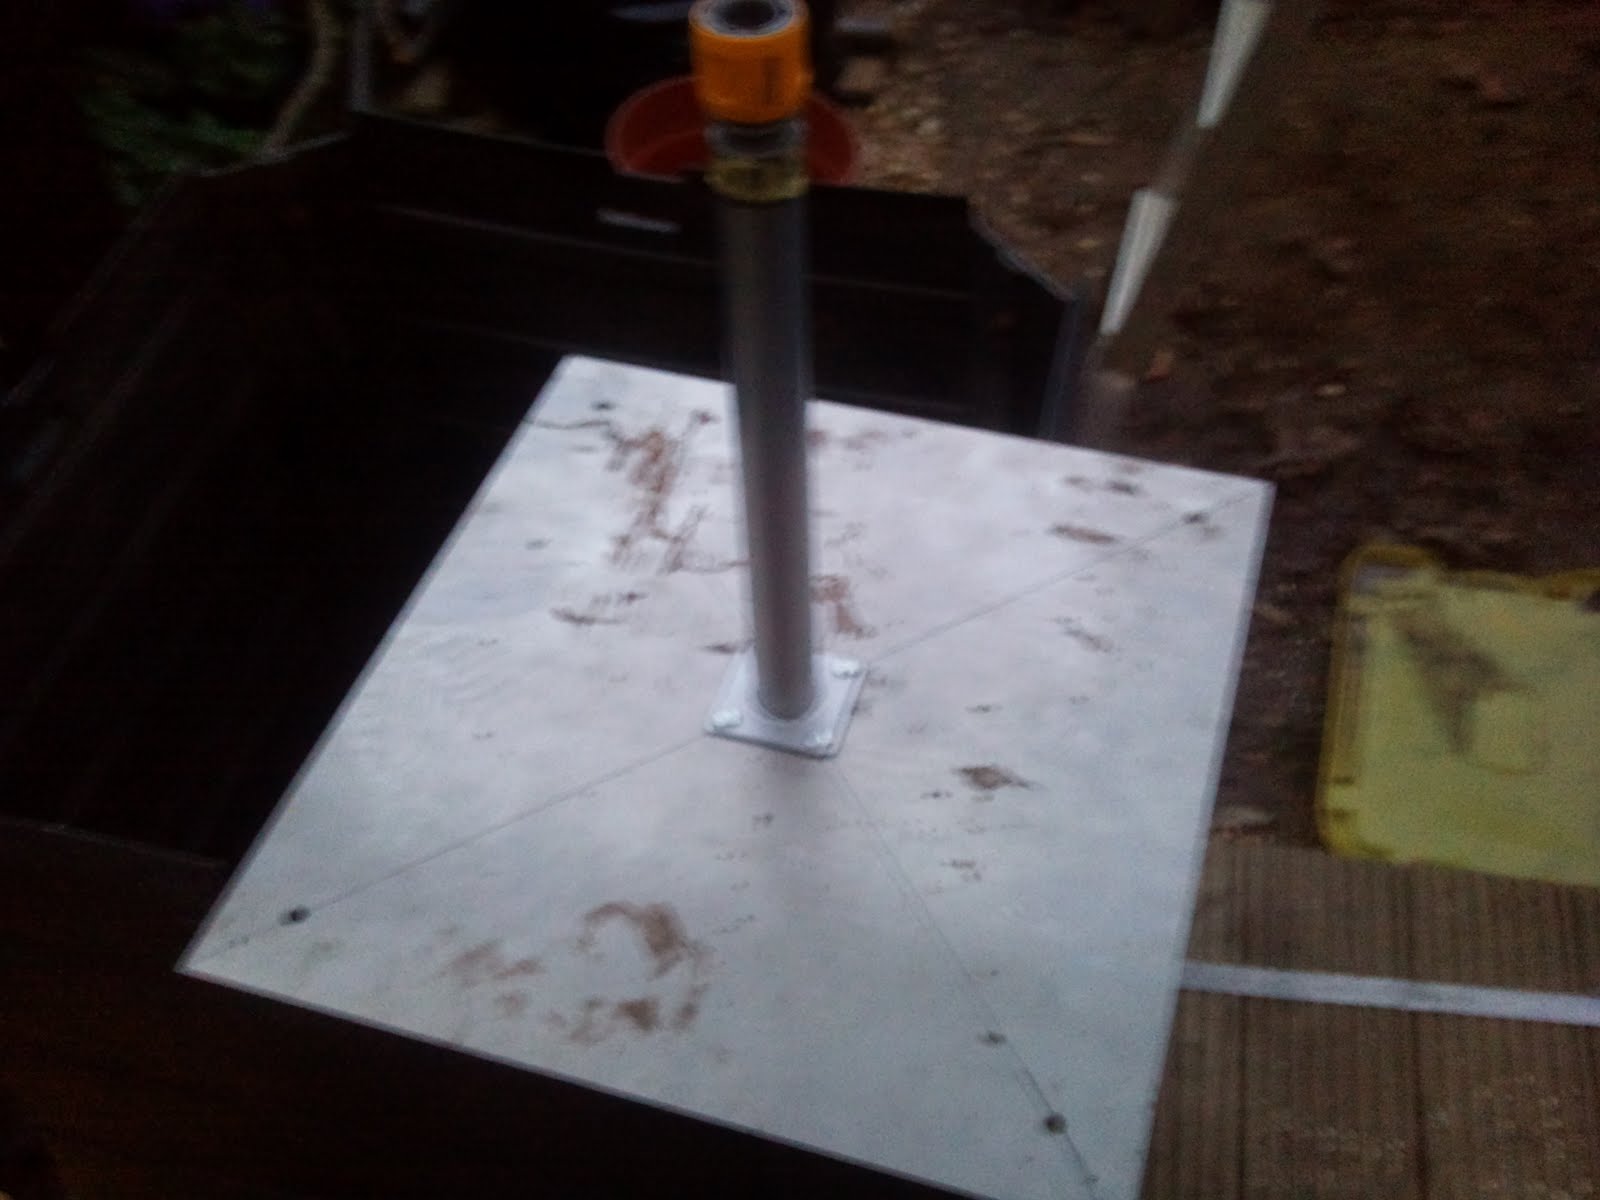
We have fed a length of the hose though the base plate to the quick connector that holds the rocket down with another quick connector underneath the front that makes up half the non-return/launch abort valve.
Our launch abort valve is using the design made by Air Command and can be found here: http://www.aircommandrockets.com/construction_4.htm#AbortValve
We have now also pressure tested this equipment to 150psi for a minute which we feel is satisfactory as our highest launch pressure is 110psi. We will of course upgrade or re-test our equipment should we start using higher pressures. As also seen in above picture there is a nasty bend in the line where it turns a right angle we are going to place a brass or copper 90' Elbow to ease the stress point for reasons of safety and allow better flow through the system.