Monday 15 November 2010

Fracture (Our first splice)


Over the past couple of days we have had a small rest from the making of the launcher, and have focused on making a spliced pair to add to our fleet. This has given us an understanding of the manufacturing technique, and will also allow us to compare the 3.8l splice to its closest current rival Nexus I which is a 4l Robinson coupled pair, and have a full understanding of the advantages and dis-advantages between the two manufacturing methods.

We used Titebond polyurethane glue mixed with Polyfilla and Sikaflex 11FC, as is used by other hobbyists, the polyurethane glue and Polyfilla mixes can be found here (http://www.aircommandrockets.com/day46.htm#diag_visetest)

The sleeve was made from a shrunken 3l bottle.


FRACTURE I fully assembled it stands at 102 cm.

Sunday 7 November 2010

Backlog Part 2


Part 2: This covers From January 2010 to July 2010 After our previous failures we did nothing for a month or two and decided to do some proper research into rockets, water rockets and the way they fly, this mainly lead us to Air Commands website which had a bottomless pit of the information we were seeking and links if they themselves did not directly have the information :).
So taking our new know how we rebuilt our small fleet of W-Rockets, a slightly more stable launcher (slightly being the operative word) and a new Nozzle. This was also the start of us using correx/coriflute plastic for fin material.

The rockets on there maiden flight's flew almost flawlessly this time round, we finally had a small fleet of rockets that worked. Filled with our new success we started to look at making a Robinson Joined Pair and succeeded in making a pressure vessel we called Nexus I (Nexus meaning join or joint), this was pressure tested but we felt we needed a more effective method of rocket recovery.

As a result of this we adapted Air Commands instructions on how to make a flight computer controlled parachute deploying nosecone, so that it would be operated by a RC receiver instead of the flight computer. This was then flown as an assembly we called Basic IV or B IV.

During this flight the rocket took off and immediately arched over to 45 degrees and the recovery system failed this caused the rocket to hit the ground still traveling at a high rate of speed crumpling the top of the rocket. On inspection of the scenario the launcher we decided was unstable and inadequate for further use, as it was the cause for the sudden arching over due to the release head being able to move around almost freely. Then turning to the recovery system failure on arrival to the landing site we discovered the parachutes were in fact stuck in the opening of the parachute bay, this lead us to redesigning the system mainly enlarging the door to the parachute bay. Also a new design for a launcher was created. To this day however the new system has not been flown, but has been extensively tested on the ground, also none of the Nexus series have been flown due to the wait its had on the recovery system.

This update brings all our previous endeavours to light up to the present moment in time in which this blog was created. So i will say a massive thank you to my friends who started the hobby with me and help in the making of the rockets, the prep work for our field days and of course the launching of the rockets. A big thanks also goes to the Air Command Group and George Katz for the great source of information and help on there brilliant website(http://aircommandrockets.com/), It was was made us fully aware of the extents this hobby can go to and made us stick with it and want to carry on making our own rockets based on ideas and techniques found.

Thank you very much for reading, i hope you have enjoyed the backlogs part 1 and 2.

Regards Doug.

Thursday 4 November 2010

New Launcher Stage 4

Stage 4:
We have now fully dismantled the launcher, cut the slots for the adjustable guide rails and have received our aluminium rods in which to make our guide rails.
We first Stripped the base plate of everything we had attached placing it all to one side, we then covered the centre holes with a piece of card in order to re-find the centre. Using the re-found centre and the compass circle dissection method we marked out where the slots for the guide rails needed to be cut.


We then drilled to the full size of 6mm either end of the marked slot and drilled a series of 4mm holes in between each end to make cutting the middle out easier. Using a file next the slots were filed down to become a 6mm slots, each 60mm long to allow for different bottle diameters.

The base was then sanded to remove all the pen marks and rust before being painted with hammerite protective paint, this is to prevent the mild steel from rusting due to moisture (It will get plenty of that ;]).


The aluminium rods needed for our guide rails have also arrived a week earlier than we expected, they are early due to the company explaining they were out of stock till next week.


We will not be able to start work on them till next week. However in the meantime I will work on uploading more of the backlog of our endeavours.

Until then Thank You for Reading

Doug

Wednesday 3 November 2010

New Launcher Stage 3

Pulley and fastenings.
Holes marked and drilled.
Stage 3: Short update today
We now have installed the pulley we ordered for our launch release cord.
The holes needed for it were marked out and drilled for two bolts to go through, the pulley was then bolted down securely in position.
The release cord was then fed though the pulley and hose clamped to the release head and a length of string tied to this for us to pull on from a distance
We will be working on the guide rails in the next update.
Pulley mounted to base plate.
Launch cord attached and coiled up.

Monday 1 November 2010

Backlog Part 1

B II On our first Gardena/Hozelock launcher
First attempt at a cable tie launcher

Part 1: This covers from around August 2009 till early September 2009.
We started, like many, with an old wine cork that had a bike pump tube pushed though a drilled out hole, filled a bottle with roughly a 1/3rd water, perched it on a brick and pumped like mad till it went in a massive cloud of vapour and we never saw the bottle again.
This was fun for a summer afternoon, although it was short lived as we were always thinking 'their must be a better way of doing this'. So we looked around a little and made a really rubbish and simple cable tie lock system and a few Basic rockets. Our understanding at the time however was crude, which was if its got fins and looks like a rocket it will work. How wrong were we the only one that had a few successful flights was the original B II as seen above. We then moved on to making a 9mm nozzle in a hurried fashion and launcher after seeing a construction video on air commands site (the nozzle did not do the instuctions justice). This nozzle never really worked so well.
Our first nozzle, it is not clear in this picture how awfully made this was.
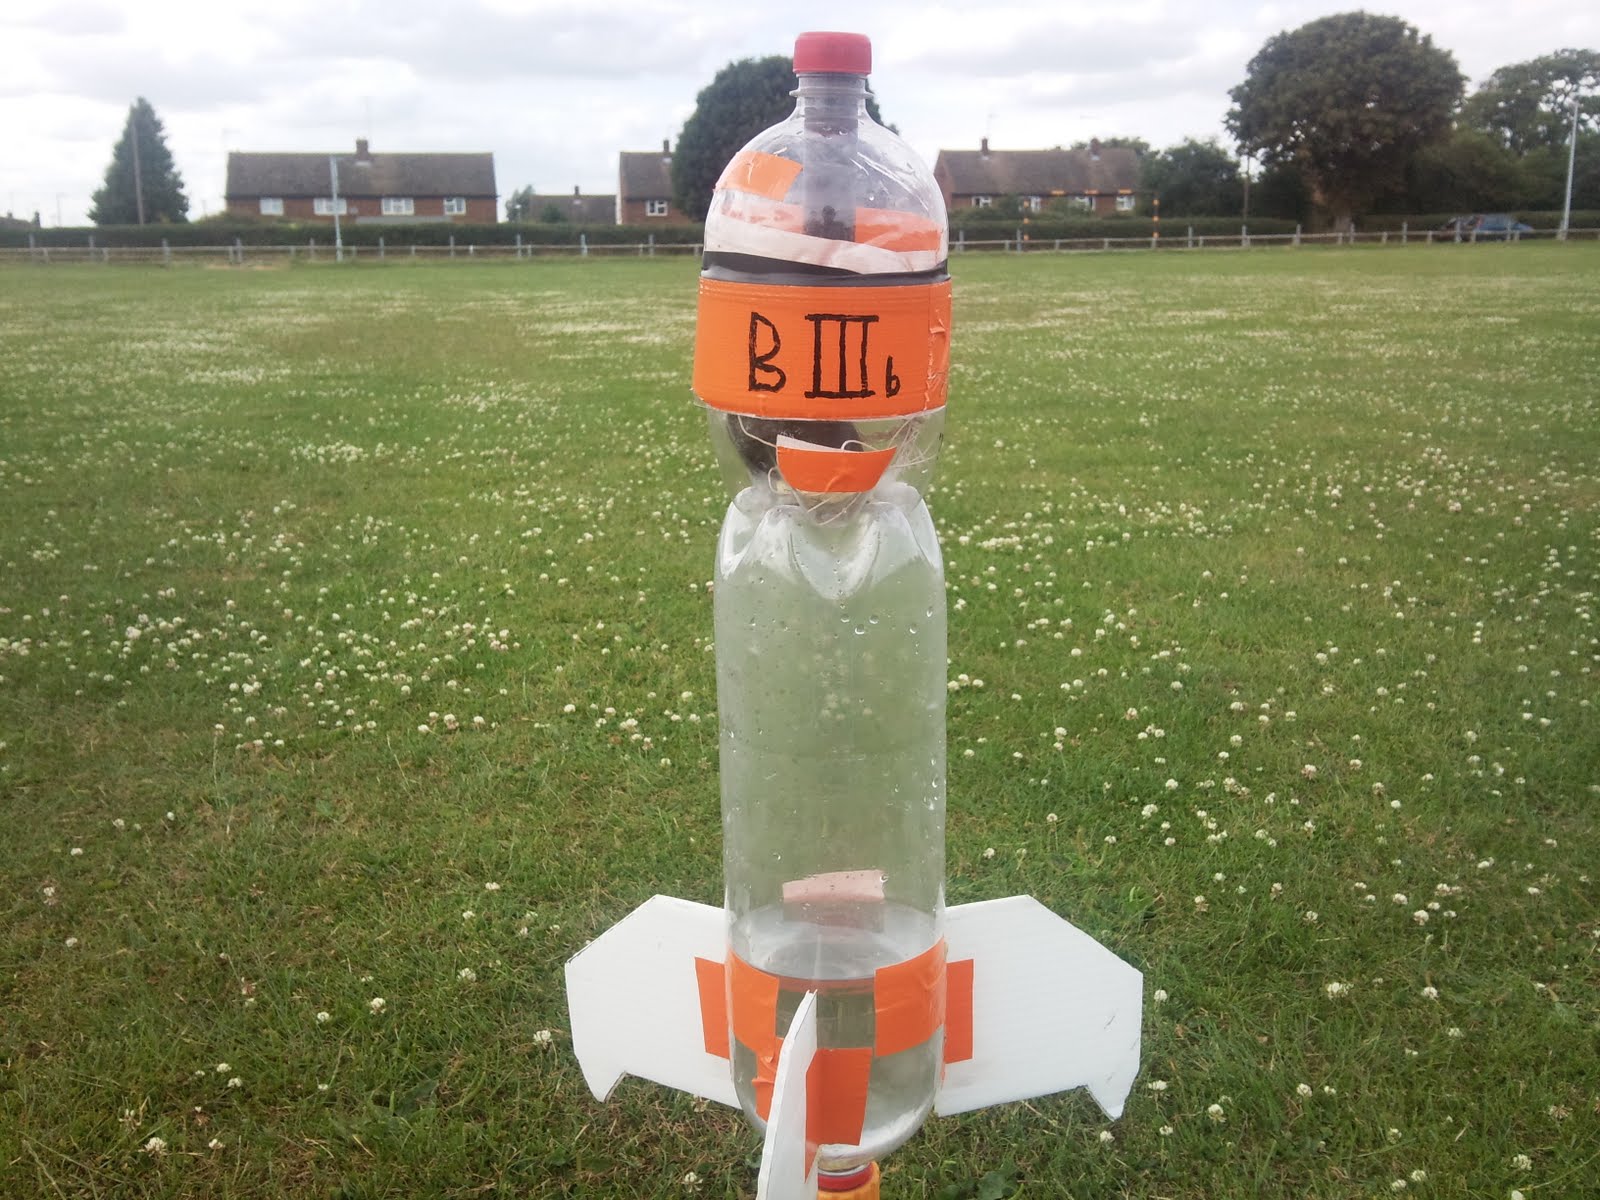
B III (NOAA Tester) never worked. Reason: It was rubbish

We were never aware of the principle of rocket stability regarding the centre of pressure (Cp) and the centre of gravity (Cg). This was found out after we had given up the ghost with the original fleet, we also revised the NOAA system to come up with a practical solution, this will come up in the next backlog as the hobby then remained idle for us till around December 2009/early January 2010.